Brewing Your Own Calendula Infused Herbal Oils

Many people assume that you need a laboratory or expensive equipment to create high-quality skincare, but that's a mistake. You don't need a chemistry degree to make a potent calendula-infused oil; you just need patience and the right ratio of plant to carrier.
This post explains the exact process for making calendula oil at home, focusing on the difference between the two primary methods: the solar infusion and the heat method. We'll look at the science of lipid-soluble extraction, the best oils to use, and how to ensure your final product stays shelf-stable without any synthetic preservatives.
What is the best way to infuse calendula in oil?
The best way to infuse calendula depends on whether you want speed or maximum nutrient preservation. The solar method—letting a jar sit in the sun for weeks—is the gentlest approach, while the heat method is much faster but requires more precision to avoid scorching the botanicals.
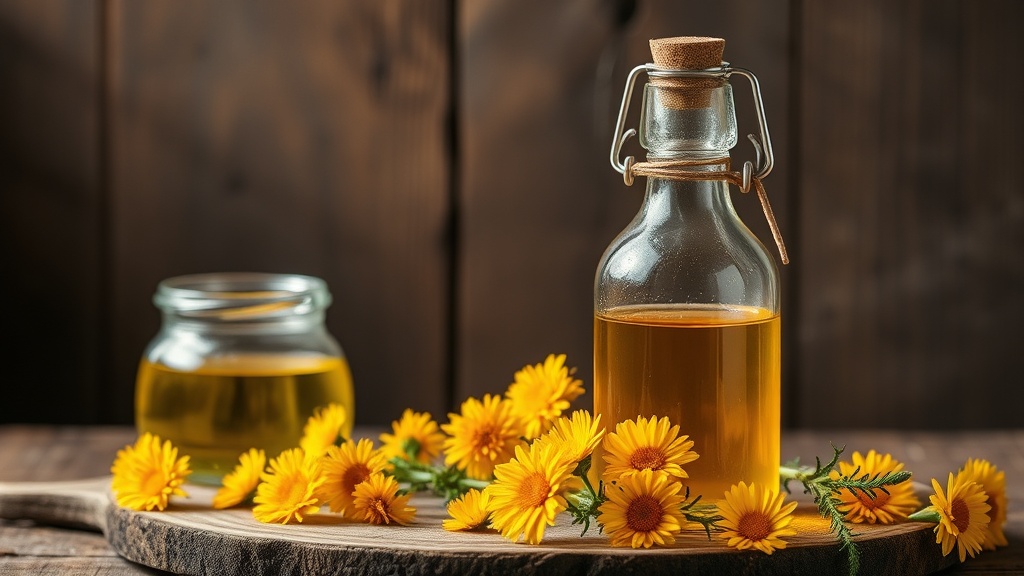
Calendula officinalis, often called pot marigold, is a powerhouse for skin-soothing properties. It contains triterpenoids and flavonoids that help with skin repair and calming irritation. If you've ever used a product from a brand like Weleda, you've likely experienced the benefits of high-quality botanical oils.
For a standard infusion, you'll want to use dried flowers. Using fresh flowers in an oil infusion is a common mistake that leads to mold. Fresh plants contain water, and water in oil is a recipe for bacterial growth. Always ensure your petals are completely dehydrated before starting.
The Solar Method (The Slow Way)
This is the traditional way to do it. It's slow, but it's hard to mess up. You simply place your dried petals in a glass jar, cover them with oil, and let the sun do the work over 4 to 6 weeks.
- Pros: Low risk of heat damage; very gentle.
- Cons: Takes a long time; depends on the weather.
The Heat Method (The Fast Way)
If you don't want to wait a month, you can use a double boiler. This speeds up the molecular transfer from the flower to the oil. Just keep the temperature low—never above 110°F (43°C)—to keep the delicate compounds intact.
- Fill a double boiler with water.
- Place your jar of flowers and oil in the water bath.
- Heat gently for 3 to 5 hours.
- Remove from heat and let it cool completely before straining.
Which carrier oil works best for calendula?
The best carrier oil for your infusion is one that is stable, light, and has a long shelf life. A stable oil prevents your infusion from going rancid quickly, which is a major headache if you're making large batches.
I personally prefer using Extra Virgin Olive Oil or Fractionated Coconut Oil. Olive oil is a classic choice because it's incredibly stable and actually helps the extraction process due to its fatty acid profile. However, if you want a lighter feel on the skin, coconut oil is great.
| Carrier Oil | Texture | Best For |
|---|---|---|
| Extra Virgin Olive Oil | Heavy/Rich | Deeply dry or irritated skin |
| Sweet Almond Oil | Medium | Facial applications |
| Fractionated Coconut Oil | Light/Liquid | Quick absorption and long shelf life |
| Jojoba Oil | Wax-like | Mimicking skin sebum |
One thing to keep in mind: if you use a highly unsaturated oil like sunflower oil, your finished calendula oil might go rancid much faster. It's worth the extra effort to choose a stable base. (I've definitely learned that the hard way after a batch turned sour after only two weeks.)
You can read more about the chemical properties of various oils on the Wikipedia page for carrier oils to understand how fatty acid chains affect stability.
How do I store my infused oil so it lasts?
Store your infused oil in a cool, dark place inside a sterilized amber glass bottle. Light and heat are the two biggest enemies of botanical oils, and they will break down the active constituents of the calendula if left exposed.
If you've made a large batch, don't feel like you have to use it all at once. I usually split my batches into small, 2oz amber dropper bottles for daily use and keep the bulk of the oil in a larger glass jar in the refrigerator. The cold slows down the oxidation process significantly.
A quick tip: always use a clean spoon to scoop the oil out of your jar. Never dip your fingers directly into the container. Even a tiny bit of moisture or skin debris can introduce bacteria that will spoil the whole batch. It's a small habit, but it makes a massive difference in how long your oil stays fresh.
If you notice a strange, sour smell or see any cloudiness that wasn't there before, toss it. It's not worth the risk of putting an oxidized oil on your skin. For more information on food and topical safety, the FDA website provides general guidelines on preventing spoilage in natural products.
The "Dry" vs. "Wet" Infusion Distinction
It's important to understand the terminology here. A "wet" infusion involves fresh plant material, which is almost always a bad idea for oil-based products unless you are making it for immediate use. A "dry" infusion uses dried botanicals. For the best results, always use the dry method. If you have fresh flowers, you must wilt them or dehydrate them first to remove the moisture content.
The difference in the final product is night and day. A wet infusion often results in a cloudy, unstable oil that can develop mold within days. A dry infusion, especially when using a stable oil like olive oil, can last for a year or more if stored correctly.
"The quality of your final oil is entirely dependent on the quality of your starting material and the temperature of your extraction."
When buying your calendula, try to find organic, pesticide-free flowers. If you're sourcing from a garden, make sure the area hasn't been treated with any synthetic fertilizers or pesticides recently. You want the purest essence possible for your skin.
If you're looking for a high-quality base, I've used Now Foods organic oils for years because their purity is consistent. It's much better to start with a high-quality base than to try and fix a mediocre one later.
Once you have your oil, you can use it as a standalone facial oil, a base for a body balm, or even a soothing treatment for minor scrapes. It's a versatile tool to have in your natural wellness toolkit. Just remember: keep it dark, keep it cool, and keep it dry.
Steps
- 1
Prepare Dried Botanicals
- 2
Select Your Carrier Oil
- 3
The Warm Infusion Method
- 4
Straining and Storage